
Maybe you have been asking yourself "How do I add a page banner in Virteom CMS". Well, look no further! In this article you will learn how to add a page banner in our custom CMS. Follow along with our step by step guide, showing you how to add page banners.

Navigating to the Page Banner module
Once you are logged in, you'll want to click on 'Manager' to get into the behind the scenes editor. Click on Manager.

Navigating > Modules
Once you're in the back-end editor, you'll want to click on Modules in the left hand navigation.

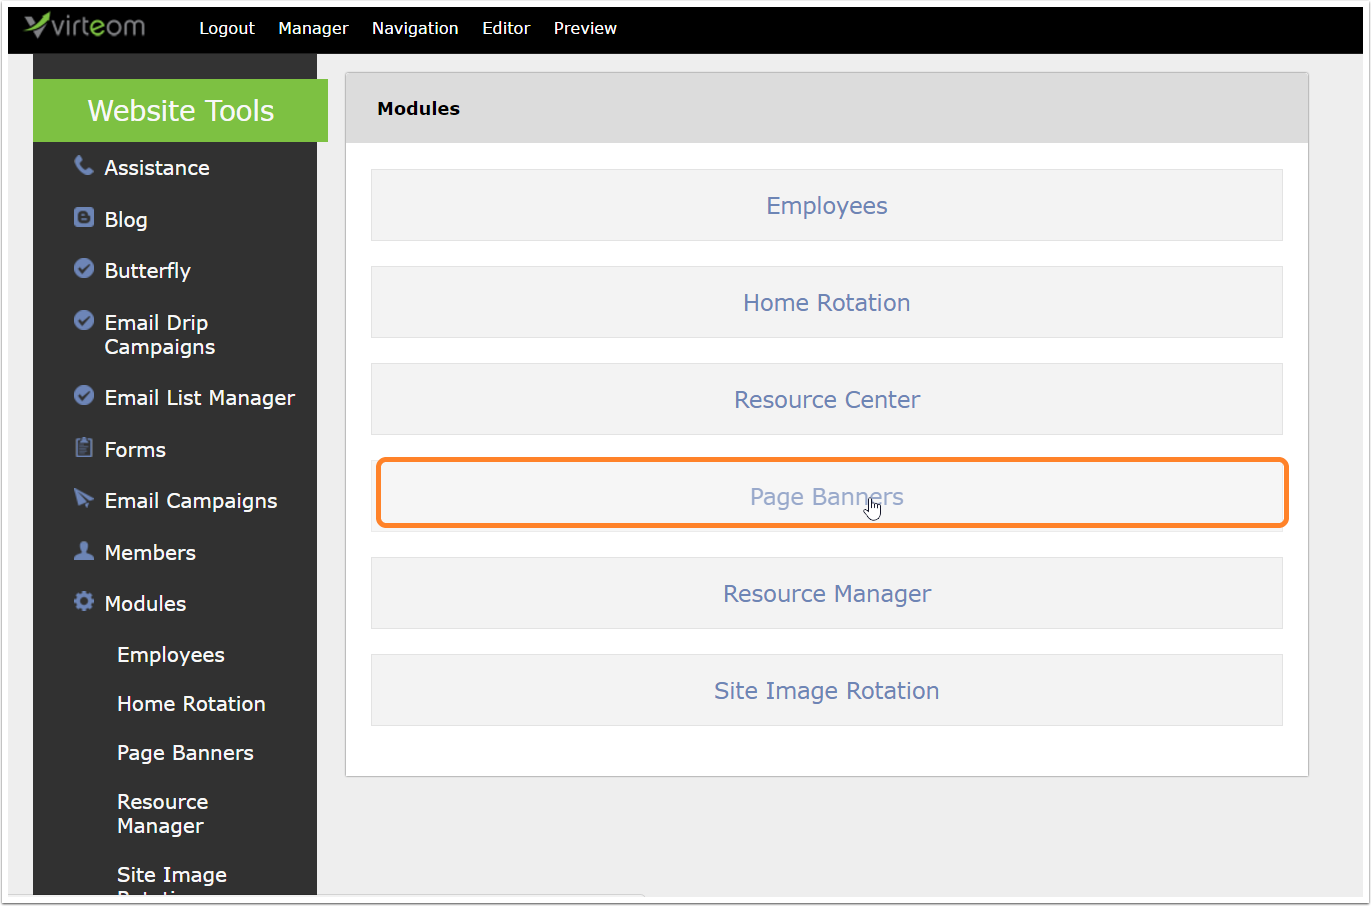
Modules > Page Banners
Once you're in the Modules section, you'll be able to see all the modules installed on your website. In this case
Adding a New Page Banner
Once you're inside the Page Banner module in the Virteom CMS, you'll want to click 'Add New' page banner

New Page Banner
Once you've clicked add new page banner:
Label: This is for internal reference only. The label will appear on the external page of the Page Banner module, so you'll know which one you're editing later.
Overlay Text: This is where you will type text that will overlay the image you upload for the page banner
Page to Display Image On: From the dropdown, choose which page you would like the page banner to appear on.
Image Upload: This is where you will choose the image for your page banner. Browse your computer for the image and click Upload.
* Don't forget to click 'Save' when you're complete.
Tip: If you don't have page banners installed on your website this module might not work. Reach out to a Virteom representative and we will gladly get you up and running with page banners.


